Databricks#
You can install RAPIDS on Databricks in a few different ways:
Accelerate machine learning workflows in a single-node GPU notebook environment
Spark users can install RAPIDS Accelerator for Apache Spark 3.x on Databricks
Install Dask alongside Spark and then use libraries like
dask-cudffor multi-node workloads
Single-node GPU Notebook environment#
Create init-script#
To get started, you must first configure an initialization script to install RAPIDS libraries and all other dependencies for your project.
Databricks recommends using cluster-scoped init scripts stored in the workspace files.
Navigate to the top-left Workspace tab and click on your Home directory then select Add > File from the menu. Create an init.sh script with contents:
#!/bin/bash
set -e

# Install RAPIDS libraries
pip install \
    --extra-index-url=https://pypi.nvidia.com \
    "cudf-cu12==26.06" "cuml-cu12==26.06" \
    "dask-cuda==26.06"
Launch cluster#
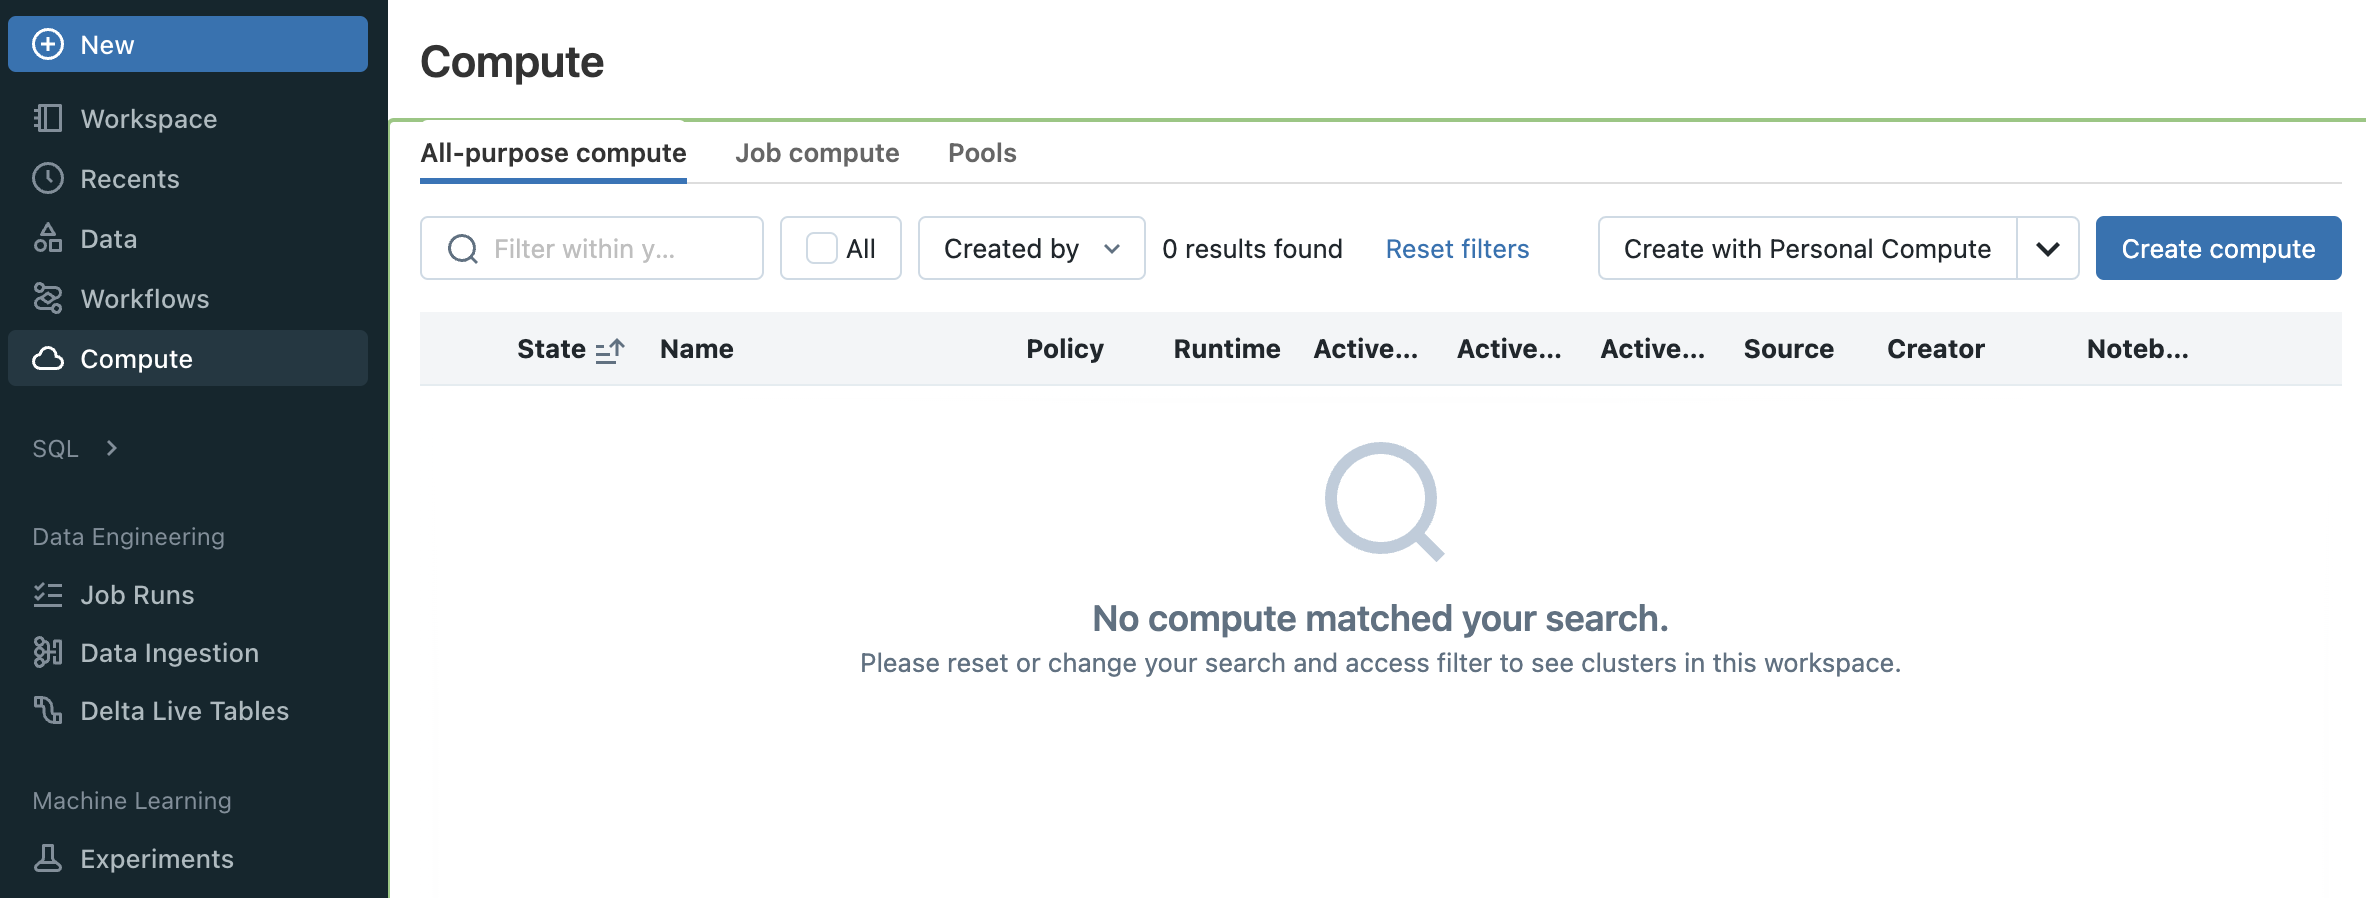
To get started, navigate to the All Purpose Compute tab of the Compute section in Databricks and select Create Compute. Name your cluster and choose “Single node”.
In order to launch a GPU node uncheck Use Photon Acceleration and select any 15.x, 16.x or 17.x ML LTS runtime with GPU support.
For example for long-term support releases you could select the 15.4 LTS ML (includes Apache Spark 3.5.0, GPU, Scala 2.12) runtime version.
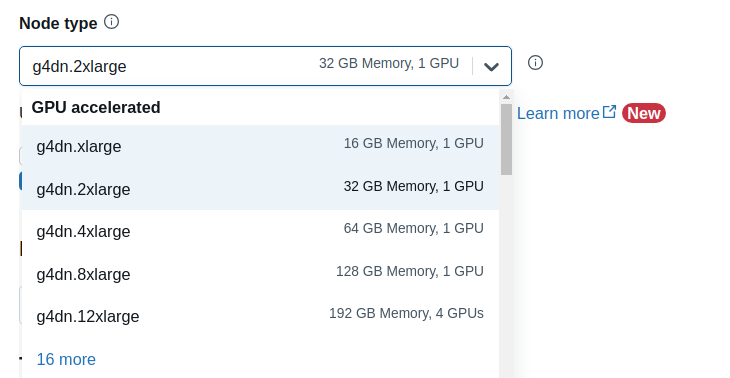
The “GPU accelerated” nodes should now be available in the Node type dropdown.
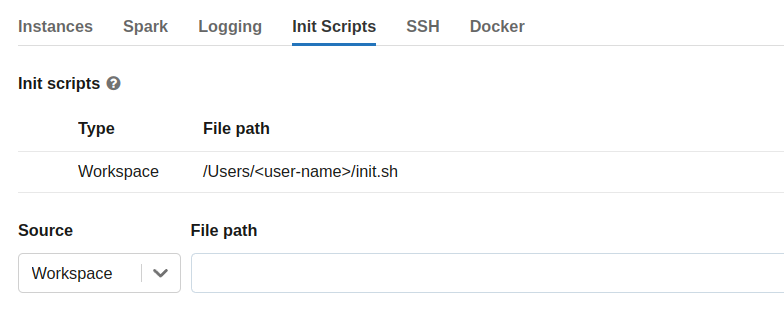
Then expand the Advanced Options section, open the Init Scripts tab and enter the file path to the init-script in your Workspace directory starting with /Users/<user-name>/<script-name>.sh and click “Add”.
Select Create Compute
Test RAPIDS#
Once your cluster has started, you can create a new notebook or open an existing one from the /Workspace directory then attach it to your running cluster.
import cudf

gdf = cudf.DataFrame({"a":[1,2,3],"b":[4,5,6]})
gdf
    a   b
0   1   4
1   2   5
2   3   6
Quickstart with cuDF Pandas#
RAPIDS recently introduced cuDF’s pandas accelerator mode to accelerate existing pandas workflows with zero changes to code.
Using cudf.pandas in Databricks on a single-node can offer significant performance improvements over traditional pandas when dealing with large datasets; operations are optimized to run on the GPU (cuDF) whenever possible, seamlessly falling back to the CPU (pandas) when necessary, with synchronization happening in the background.
Below is a quick example how to load the cudf.pandas extension in a Jupyter notebook:
%load_ext cudf.pandas

%%time

import pandas as pd

df = pd.read_parquet(
    "nyc_parking_violations_2022.parquet",
    columns=["Registration State", "Violation Description", "Vehicle Body Type", "Issue Date", "Summons Number"]
)

(df[["Registration State", "Violation Description"]]
 .value_counts()
 .groupby("Registration State")
 .head(1)
 .sort_index()
 .reset_index()
)
Upload the 10 Minutes to RAPIDS cuDF Pandas notebook in your single-node Databricks cluster and run through the cells.
NOTE: cuDF pandas is open beta and under active development. You can learn more through the documentation and the release blog.