Vertex AI#
RAPIDS can be deployed on Vertex AI Workbench.
Create a new Notebook Instance#
From the Google Cloud UI, navigate to Vertex AI -> Notebook -> Workbench
Select Instances and select + CREATE NEW.
In the Details section give the instance a name.
Check the “Attach 1 NVIDIA T4 GPU” option.
After customizing any other aspects of the machine you wish, click CREATE.
Tip
If you want to select a different GPU or select other hardware options you can select “Advanced Options” at the bottom and then make changes in the “Machine type” section.
Install RAPIDS#
Once the instance has started select OPEN JUPYTER LAB and at the top of a notebook install the RAPIDS libraries you wish to use.
Warning
Installing RAPIDS via pip in the default environment is not currently possible, for now you must create a new conda environment.
Vertex AI currently ships with CUDA Toolkit 11 system packages as of the Jan 2025 Vertex AI release.
The default Python environment also contains the cupy-cuda12x package. This means it’s not possible to install RAPIDS package like cudf via pip as cudf-cu12 will conflict with the CUDA Toolkit version but cudf-cu11 will conflict with the cupy version.
You can find out your current system CUDA Toolkit version by running ls -ld /usr/local/cuda*.
You can create a new RAPIDS conda environment and register it with ipykernel for use in Jupyter Lab. Open a new terminal in Jupyter and run the following commands.
# Use a user-writable location for environments and package caches
$ export MAMBA_ROOT_PREFIX="${HOME}/micromamba"
Setting MAMBA_ROOT_PREFIX keeps environments and package caches in a user-writable location.
# Create a new environment
$ conda create -y -n rapids \
    -c rapidsai -c conda-forge \
    rapids=26.06 python=3.13 'cuda-version>=12.0,<=12.9' \
    ipykernel
# Activate the environment
$ conda activate rapids
# Register the environment with Jupyter
$ python -m ipykernel install --user --name rapids --display-name "rapids"
Registering the kernel with --user installs the kernelspec in the Jupyter user’s kernel directory, avoiding permissions errors from writing into the environment prefix.
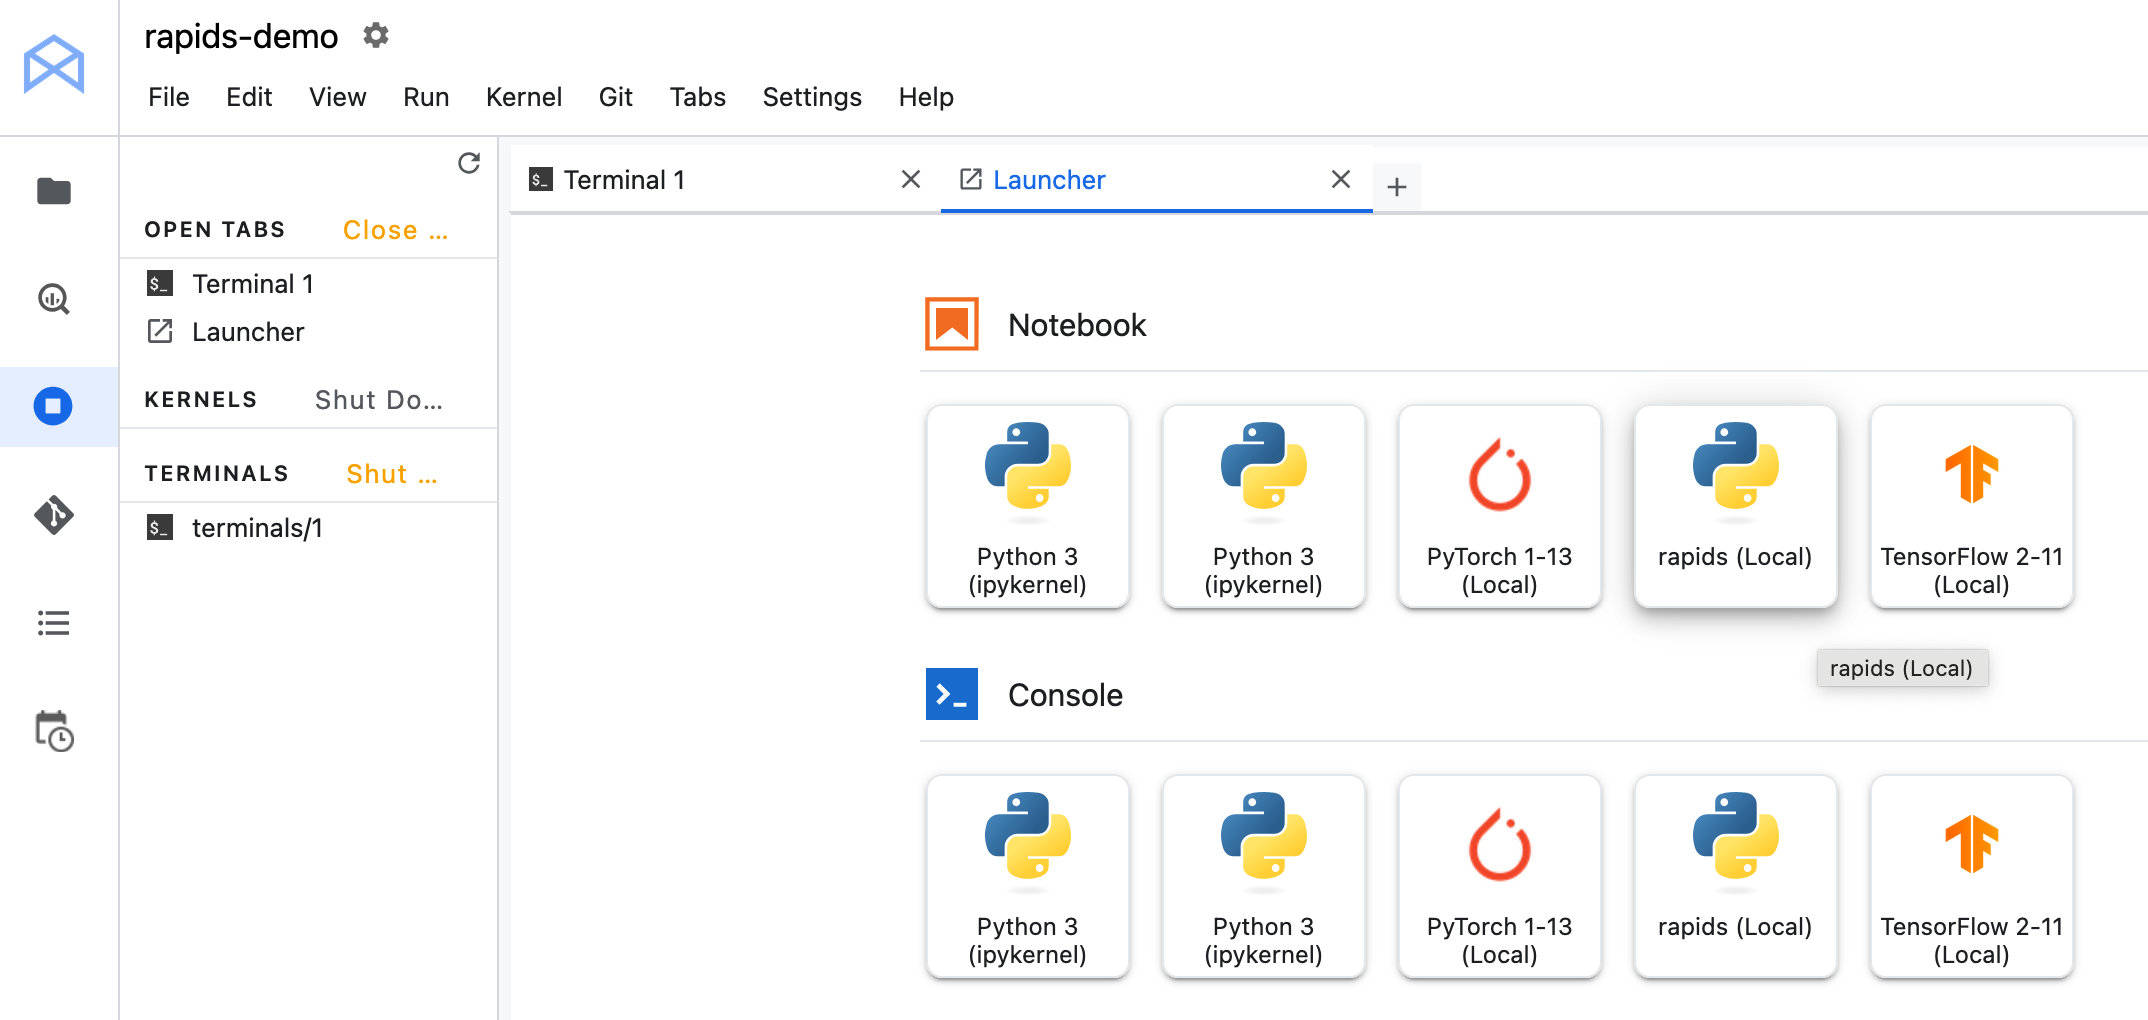
Then refresh the Jupyter Lab page and open the launcher. You will see a new “rapids” kernel available.
Tip
If you don’t see the new kernel wait a minute and refresh the page again, it can take a little while to show up.
Test RAPIDS#
You should now be able to open a notebook and use RAPIDS.
For example we could import and use RAPIDS libraries like cudf.
In [1]: import cudf
In [2]: df = cudf.datasets.timeseries()
In [3]: df.head()
Out[3]:
                       id     name         x         y
timestamp
2000-01-01 00:00:00  1020    Kevin  0.091536  0.664482
2000-01-01 00:00:01   974    Frank  0.683788 -0.467281
2000-01-01 00:00:02  1000  Charlie  0.419740 -0.796866
2000-01-01 00:00:03  1019    Edith  0.488411  0.731661
2000-01-01 00:00:04   998    Quinn  0.651381 -0.525398